There are many ways to protect a new or used vehicle’s paint job. Whether you prefer to apply natural carnauba wax, a synthetic paint sealant, or a nanoceramic coating, the prep work you complete will amplify the depth, shine, and gloss that you’re looking to achieve. That brings us to today’s AmericanaGlobal.com blog – providing you with five steps you need to complete to prepare a car for ceramic coating – or any other protective solution.
In the information below, we’ll break down five tasks that will remove contaminants from your car paint, get rid of swirl marks and paint imperfections, and ensure you have a surgically clean surface to apply your ceramic spray or coating of choice.
Step 1 – Decontamination Car Wash
The first item on any automotive detailing project is washing the vehicle. However, when installing a DIY ceramic coating or having professional help, decontaminating EVERY surface you intend on coating is vital.
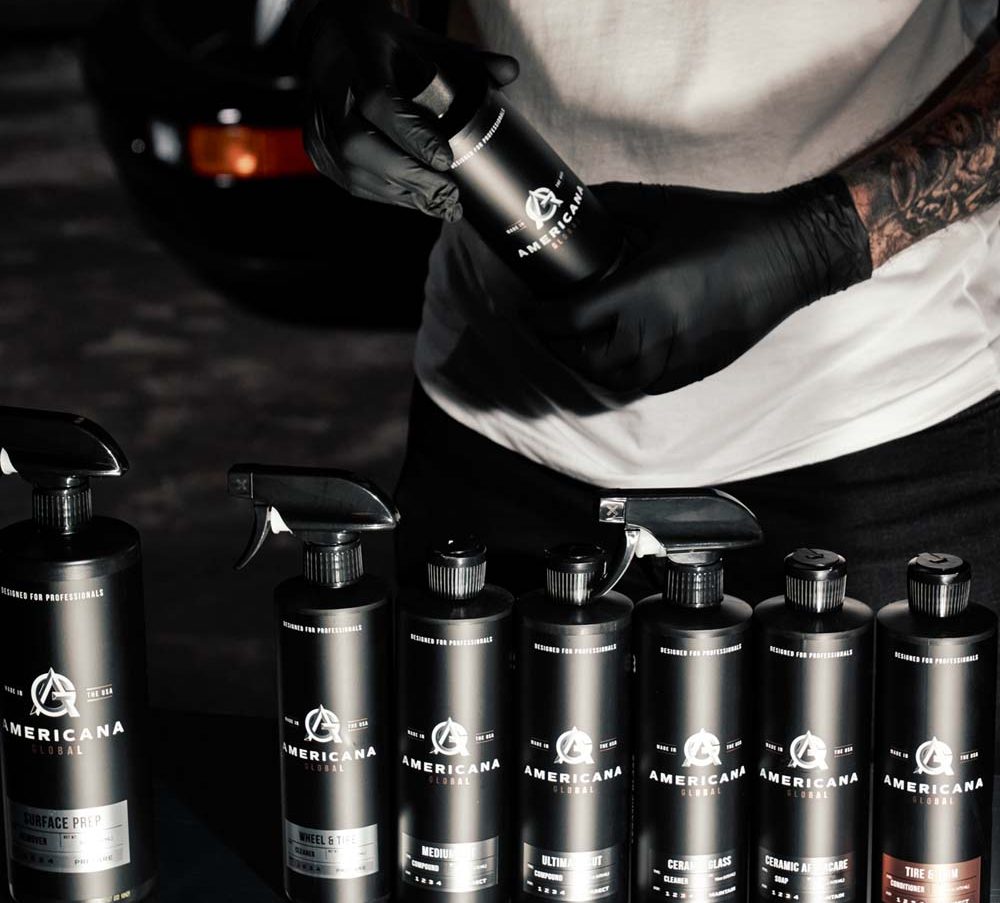
The degreasing or decontamination car wash should be completed on wheels and tires, wheel wells, the vehicle’s exterior, and glass. Most pro detailers recommend using a few specialty products to help expedite decontamination cleaning. Here are our top choices for the first prepping phase for coating installation.
Car Soap – It’s tempting to head to the kitchen and grab that bottle of Dawn dish soap – as it is excellent at stripping older layers of car wax. However, these detergents are incredibly high on the pH scale – and tend to leave streaks on the vehicle’s finish (especially glass). Instead, always defer to using a pH-neutral, no-wax added car shampoo.
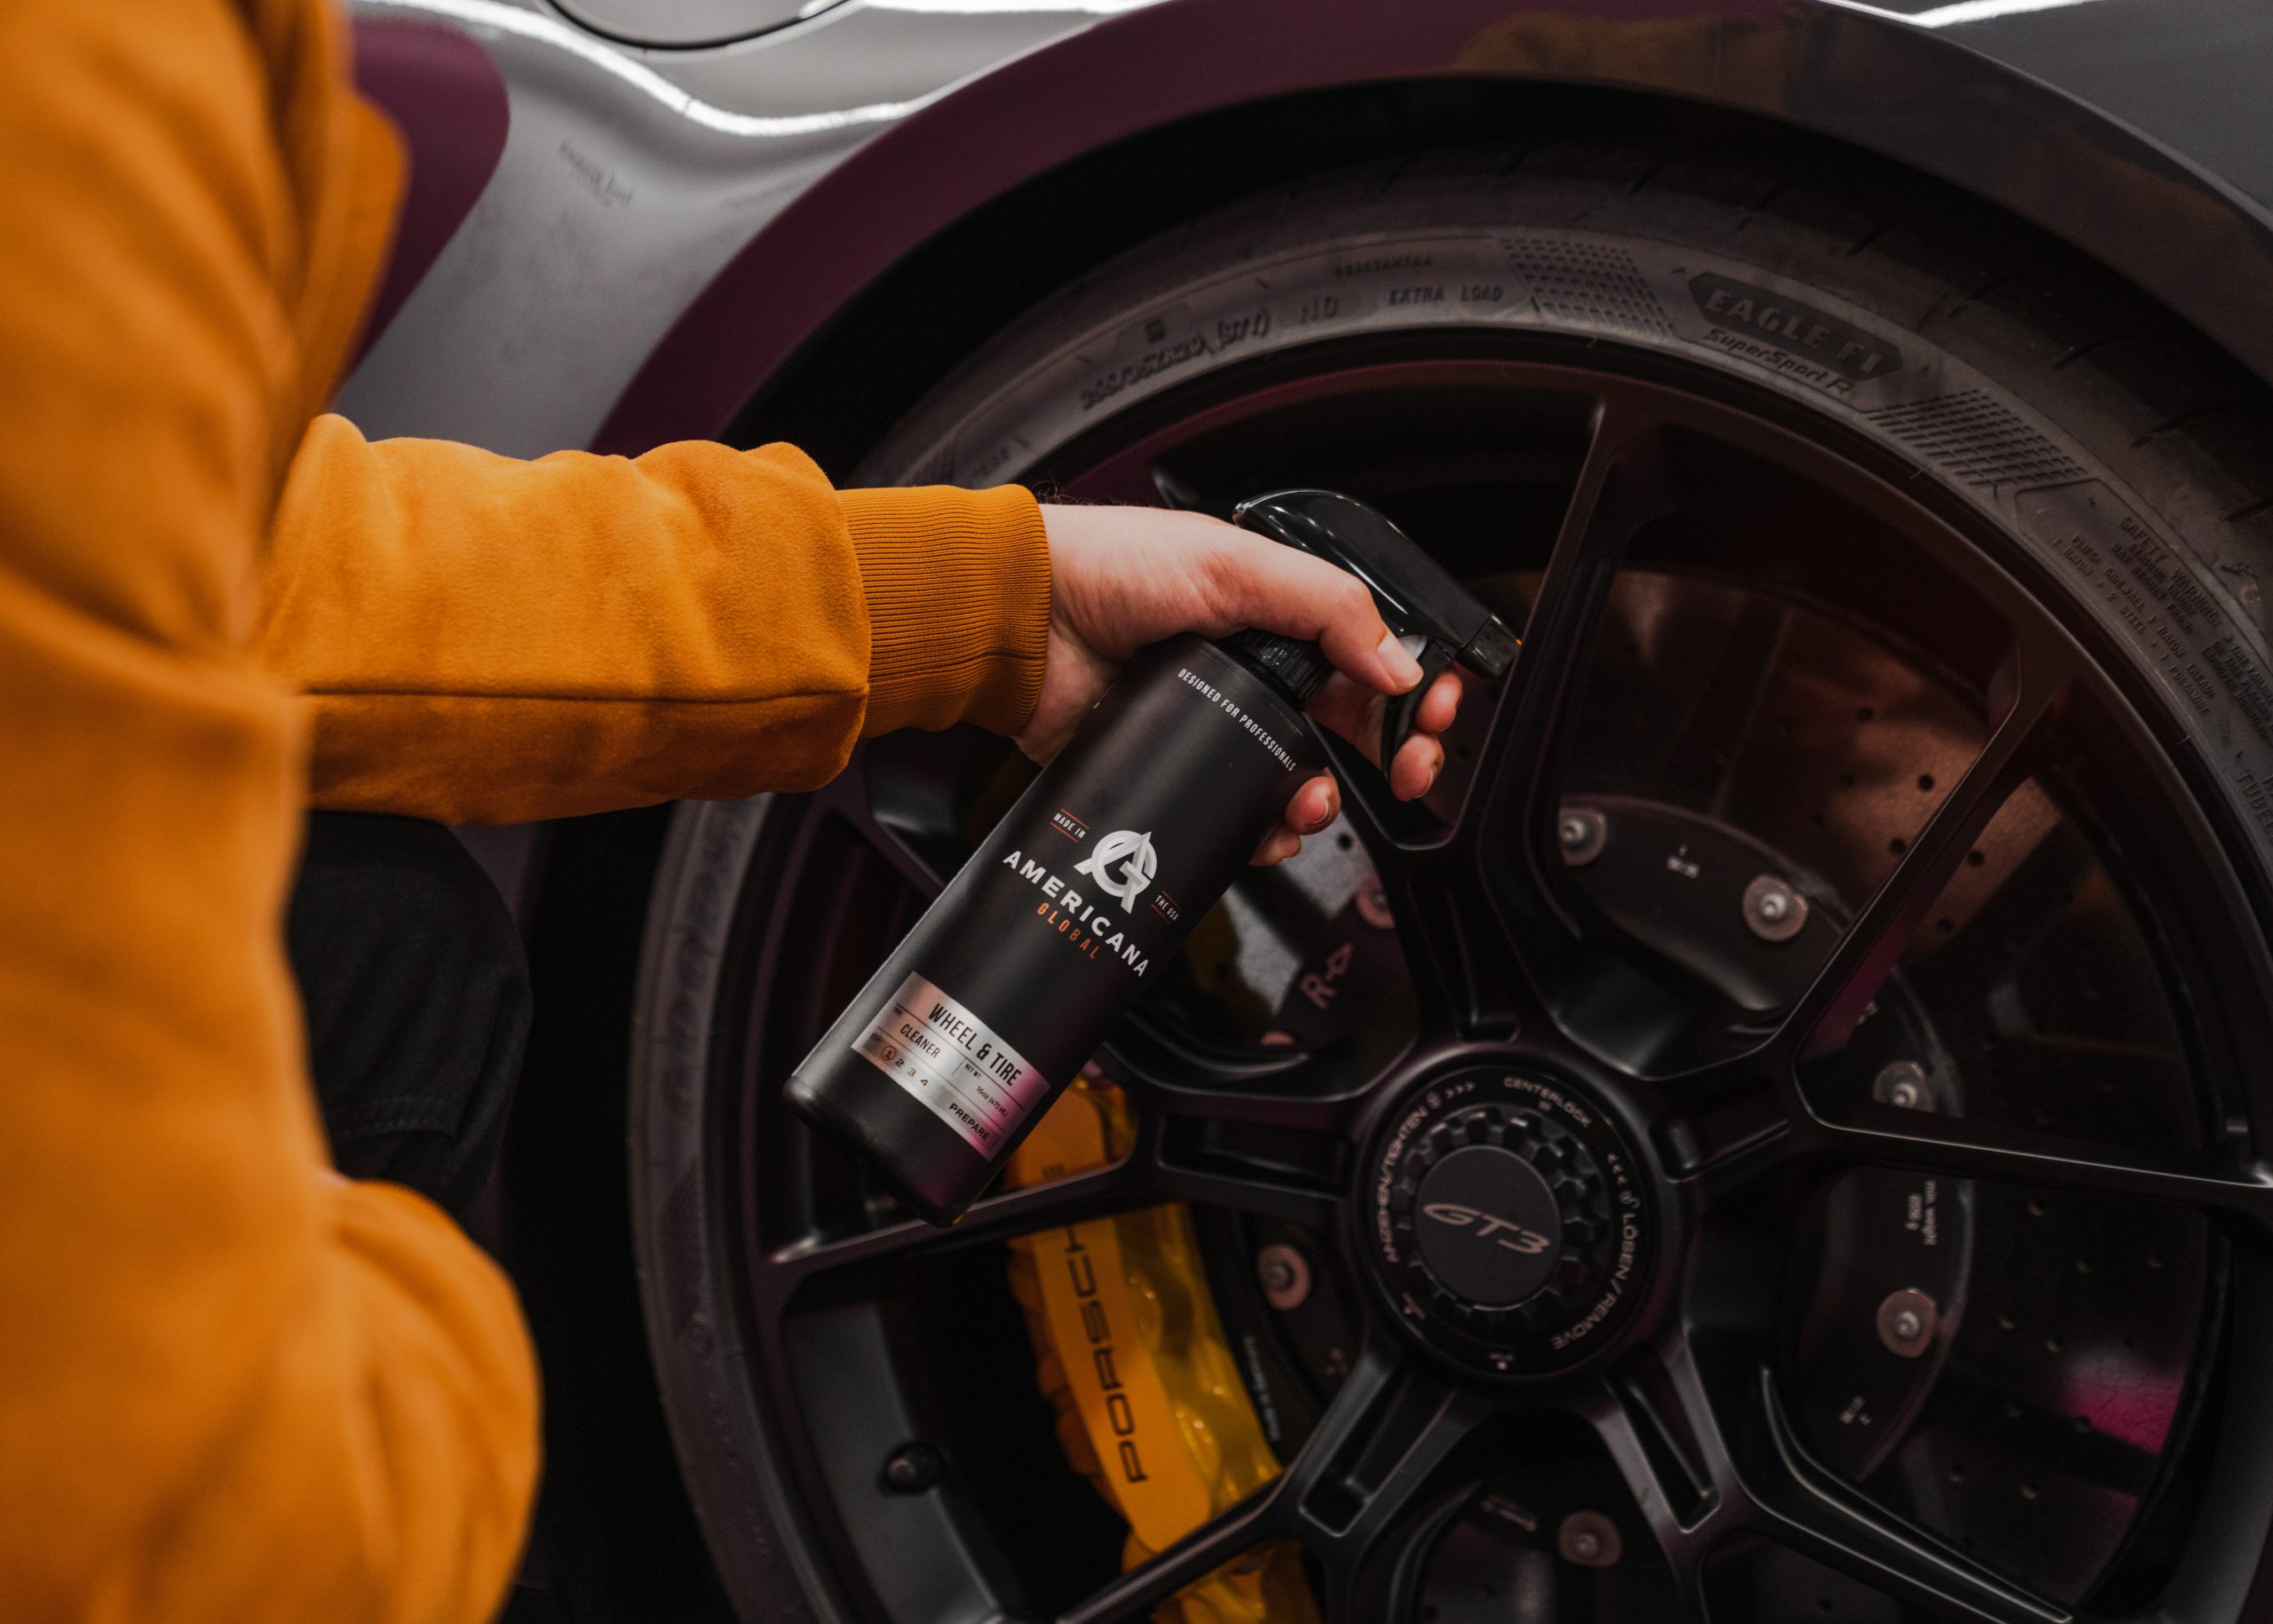
Wheel & Tire Cleaner – Before you wash the entire car with the best decontamination soap for ceramic coating prep work, it’s strongly recommended to wash the wheels and tires first. To complete this, buy a bottle of non-acid-based wheel and tire cleaner. These products are pH neutral and safe to use on ALL wheel types – including ceramic wheels and ceramic brakes.
Two Sets of Buckets and Washing Tools – You should use two sets of buckets since you’re collecting your supplies. One bucket and wash mitt (or wheel and tire brushes) should ONLY be used on the tires and wheels. This is because brake dust is easy to stick in car wash mitts and inside buckets. You don’t want to create more scratches on your clear coating – so use fresh washing supplies for the car.
Step 2 – Iron & Fallout Removal
The second step of prep work for ceramic coating application is to remove any iron deposits stuck in the clear coating, glass, wheels, and other items you want to coat. A good iron remover will accomplish this task. An iron remover is a chemical that smells bad – and dissolves brake dust and other ferrous-based materials.
After washing the vehicle, you spray the iron remover on the car (not in direct sunlight, though) while the vehicle is still well. Wait about 4 to 5 minutes to let the product dwell, and you’ll start seeing purple (which is the brake dust and industrial fallout melting). After that wait time, rinse the vehicle off – but don’t dry it yet – we’ll explain why below.
PRO TIP: Many people use this product for decontaminating wheels. That’s OK to do – if it’s not polished aluminum, carbon fiber, or non-protected powder-coated wheels. We recommend using this product with the wheels taken off the vehicle – as you don’t want this stuff contaminating the brake rotors. Also – NEVER spray this stuff on a warm wheel. Wash them first – then proceed with the iron removal step.
Step 3 – Clay Bar Treatment
If you want the coating to bond correctly, you should clay bar your car after iron removal. The good news is that you’re going to remove about 85% of the deposits stuck in the clear coat. This will streamline the clay bar process.
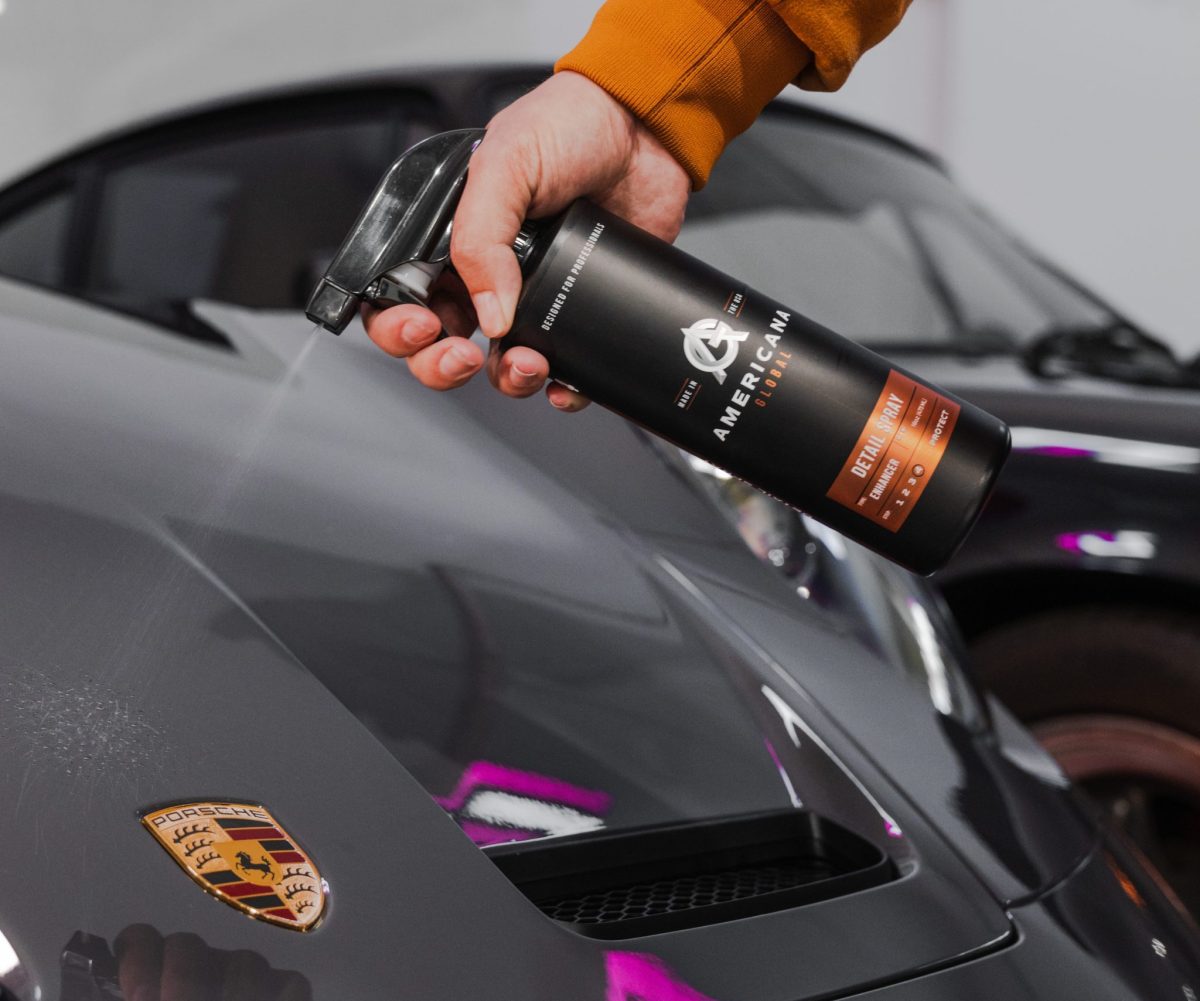
Make sure to use a high-quality clay bar or mitt – along with a highly-concentrated clay bar lubricant. We recommend using Americana Global Detail Spray (Ready to Use formula) or Rinseless Wash (diluted 1:10 – with distilled water). The vehicle needs to be wet – and you want to use a lot of lubricants when you clay the car.

Go over all painted surfaces – and glass if you’re going to coat the windows and side-view mirrors. When finished, rinse the vehicle with fresh water and dry the car with a quality microfiber drying towel.
Step 4 – Surface Prep Spray or Panel Wipe
After clay bar treatment and drying the vehicle, there will be a lot of soapy residues on the surface (even after rinsing the car off with freshwater). This will create a lot of tiny, dried soap particles – which are mainly comprised of salts found in many automotive car soaps. If you’re going to paint correct the vehicle – the final step – it’s a good idea to make sure the car is surgically clean before placing a polisher and pad on the clear coat.
We recommend using Americana Global Surface Prep Spray – before and after paint correction. It will remove any residue or materials from the vehicle, so you have a clean surface to inspect and correct through compounding or polishing.
Surface Prep Spray is easy to use – and more effective than isopropyl alcohol alone. Spray on the surface, then wipe off with a clean microfiber cloth. If you’re not going to polish the vehicle, or install vinyl wraps or paint protection film, you can install your DIY ceramic coating or other paint coating.
Step 5 – Paint Correction (Optional but Recommended)
The final step in ceramic coating installation prep work is to correct any imperfections on the painted surface. A ceramic coating will protect the vehicle from exposure to the elements – but it also amplifies the paint underneath. If there are microscopic scratches or swirl marks, they will show up more outstanding with the coating applied.
If you’re curious about paint correction – take time to read our blog on this process, as it’s essential to get this right. If you don’t feel comfortable doing this yourself, reach out to a professional detailer near you who can assist.

The Americana Way – Prep Work Before Installing Ceramic Coatings
We strongly recommend a hybrid car decontamination technique – or what we call The Americana Global Way of Prep work. This is a quicker way of completing the initial prep work – ONLY if you paint correct the vehicle.
If you follow these steps – with the products we’ve formulated for efficient decontamination – you can save a lot of time on your ceramic coating prep work – without compromising quality. It can be used by auto detailing experts or DIY enthusiasts who are planning on correcting the paintwork.
- Rinse the vehicle with a high-pressure hose or spray nozzle. Make sure to rinse the entire car – including under the tires and wheels, wheel wells, lower frame rails, along the front and rear bumpers.
- Use Americana Global Wheel & Tire Cleaner to wash your wheels. Use as directed by spraying on wheels and tires, agitate the wheels and tires with dedicated wash brushes for each, and rinse off.
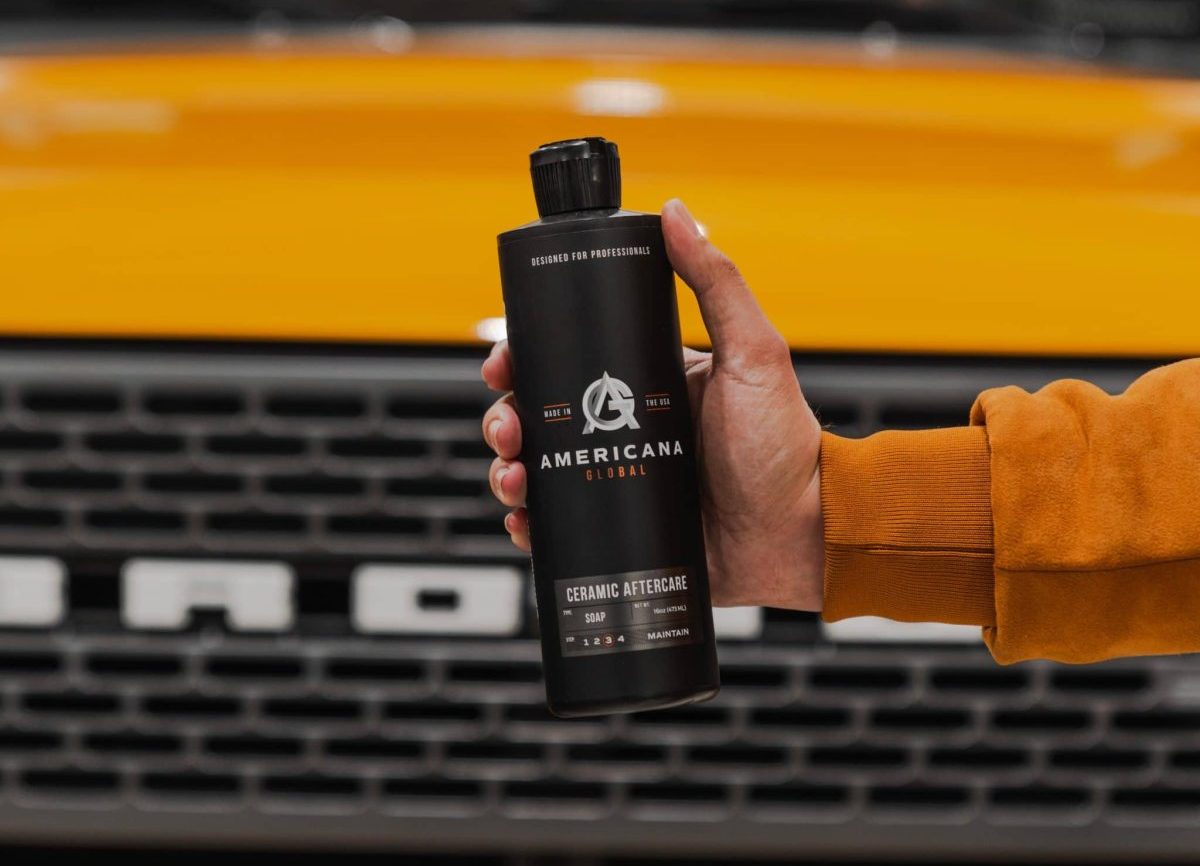
- Use a foam cannon with Americana Global Aftercare Soap & All-Purpose Cleaner. Add 3oz of Ceramic Aftercare Soap – and 2oz of our concentrated APC. You can also use our Vinyl & PPF soap if you want a lot of suds. Let the soap dwell for about 3 minutes.
- Prep a wash bucket with 2oz of Ceramic Aftercare Soap and a rinse bucket.
- With the foam cannon soap still on the vehicle, wash the car one panel at a time – top to bottom left to right. Rinse the wash mitt in clean water.
- Rinse the vehicle off entirely after washing the car. Leave the car wet.
- Use Americana Global Iron Remover to spray over the entire surface. Let it dwell for 4 to 5 minutes and watch the iron particles bleed purple.
- Rinse off the entire vehicle.
- Use Americana Global Rinseless Wash as a clay lube – 1:10 dilution ratio – with distilled water.
- Use a clay bar or mitt over the entire vehicle – spraying a lot of lubrication in the process.
- Rinse and dry off the vehicle.
- Use Americana Global Surface Prep Spray to wipe down the vehicle. Use a clean microfiber towel to wipe off the residue. Don’t use straight IPA, as it can leave streaks.
At that point – you’re ready for paint correction. Most detailers waste a lot of time drying the vehicle after each step. Americana Global PREP products work together – in the following process, on wet or dry vehicles. By keeping the car moist during this process, you’ll ensure the surface remains lubricated – during washing, iron decontamination, and clay bar treatment.
By using the Surface Prep Spray before paint correction – you’ll reduce the potential of creating more micro-marring during the correction phase. And by using the Surface Prep Spray after correction – you’re going to remove 100% of the oils and residue after paint correction.
EDITORS NOTE: I strongly recommend washing the vehicle with a foam cannon and rinsing it off directly after using cutting compound, buffing or paint correction. There will be a lot of powder and residue trapped indoor and hood jams and other seams in the vehicle. When the car is dried, use the Surface Prep Spray about 30 minutes before applying your coating.

Preparing a car for ceramic coating does not take a lot of time. Whether you’ve ordered a DIY ceramic coating online – or you’re a pro detailer looking to save time on your PREP work – we all understand that TIME is MONEY.
By using car care products and techniques designed to work together – you’ll ensure cars, trucks, boats, RVs, and more are as clean as possible – so the ceramic coating product adheres correctly and lasts longer. The coating process will vary based on the type of product you purchase. Make sure to follow their instructions for application.
If you’re a car owner or detailer – and would like to purchase the Americana Global PREP products for your car detailing business or to have at home, click the button below to get 15 percent off ALL products mentioned in this article.


Leave A Comment