While absolutely worth it, proper paint correction is a time-consuming and highly technical process for the average do-it-yourself enthusiast to tackle. Buffing your vehicle’s clear coat helps to remove swirl marks – which improves the depth, gloss, and shine and will enhance ceramic coating installation jobs. Whether you’re a professional or a prosumer, everyone is seeking creative ways to save time on paint correction.
Although this is a job best left to the professionals, it’s possible to save some time on paint correction with a couple of tips from the best professionals in the industry. In today’s Americana Global Lab blog, we’ll dive into some of the facts about the main pain point with auto detailing – correcting car paint.
Does Paint Correction Fix Scratches?
Paint correction can remove some light scratches, though the process is more intended to fix minor and surface scratches. In the pro-car detailing world, we call these swirl marks, which are typically caused by frequent trips to the automatic car wash. They can also be caused by using drying towels instead of microfiber towels.
Paint correction services can be as complex – involving wet sanding higher level scratches or oxidation. A deep scratch might require some touch-up paint or repainting to get the final effect of well blended and shiny paint.
Correction is capable of fixing scratches from everyday use and making a vehicle look new. With that being said, you can certainly correct a newly delivered vehicle that has blemishes or poor quality control from the factory. Tesla, for example, is notorious for poor factory paint quality.
What’s the Purpose of Paint Correction for Ceramic Coating Installations?
The purpose of paint correction is to make the painted surfaces on the car look smooth. Paint correction also fixes swirls and blemishes which come from everything from scratches to weather and road-related wear. People who like their vehicle to look particularly clean benefit from paint correction, especially if they appreciate the small details on their vehicle and want it to be visually striking up close.
Correction of vehicle paint is crucial – as it provides a smooth and clean surface that will be ready for a ceramic coating to be applied. In all reality – a coating simply amplifies the condition of the paint underneath. So, if the clear coat has imperfections – the coating will amplify them – making the paint job look horrible. This is also applicable to sealants.
The main difference between a ceramic coat and a paint sealant is the hardness and flatness of the coated surface.
Professional buffing has the potential to raise the value of a vehicle that is about to be sold. This is especially true for a sporty or rare vehicle with a unique or attention-grabbing color. While an interior detail can make a vehicle smell fresh for a test drive, automotive polishing helps the vehicle look as well maintained on the exterior as it is under the hood.
PRO TIP: You can tell if a scrape is considered ‘deep’ if it feels like a ridge where paint has been pushed away or paint is removed on both sides. These kinds of scratches most often come from sharp objects like rocks or keys. Some natural contaminants like tree sap, bird droppings, water spots, and other debris can cause etching At these points, it’s best to consider contacting a body shop.
How Long Does Paint Correction Take?
This is likely one of the most commonly asked questions of newer detailers or enthusiasts. Unfortunately, this is not a black or white – yes or no answer. It truly depends on multiple factors including:
- The condition of the vehicle’s paintwork.
- Decontamination or paint defects in the paint’s clear coating.
- The hardness of the clear. Some new car manufacturers are using less clear in their factory paint jobs.
- The type of polishing compound and correction pads used.
- The technique, type of polishing machine, speed, and pressure.
Whether it’s an older single-stage paint.
There are two types of paint correction attempted by intrepid DIY’ers and professional detailers:
One-Step Paint Correction
One-step paint correction usually involves a thorough polishing using a two-in-one compound and polish, along with a mid-grade correction pad. Detailers and do it yourselfers often use one-step paint correction when there are minor imperfections – or needs a quick polishing. A one-step correction involves one pass with compound and polish, generally without the use of overly aggressive pads or brushes.
One of the biggest misconceptions is using an all-in-one liquid with multiple pads and steps – and calling it “single-stage”. That’s just not accurate. The liquid compound and polish can be used in both steps. We will discuss that below.
However – one-step detailing can take a skilled detailer about two to four hours to make the right vehicle look new again.
Two-Step Paint Correction
Two-step paint correction involves using a couple of methods to get your paint looking shiny from a slightly worse condition. This is the most common type of correction completed by professional detailers – before applying car wax, paint sealants, paint protection film, or nano-ceramic coatings.
Part of the idea behind the two-step processes involves using multiple levels of polishing and compounding pads to correct bigger problems in the paint. Naturally, this will take more time because a detailer or yourself will touch every inch of your vehicle with different kinds of brushes.
Step One – Correction
The first step is the one that consumes the largest amount of time in the car care process. It involves removing imperfections found in the clear coating of paint jobs. Detailers use a special cutting compound or one of those all-in-one liquids we talked about above. When used with a cutting pad (typically made of foam, microfiber, or a hybrid lambswool and foam) it cuts away a layer of clear coat that contains the damage.
To put it simply – the technique for cutting or correction is like cooking BBQ – low and slow with medium pressure applied to the buffer accomplishes superior results.
Step Two – Polishing
The final task in the two-step process is polishing. This is where you’ll remove those tiny imperfections that are left behind by the first step – and enhance the depth, shine, and gloss.
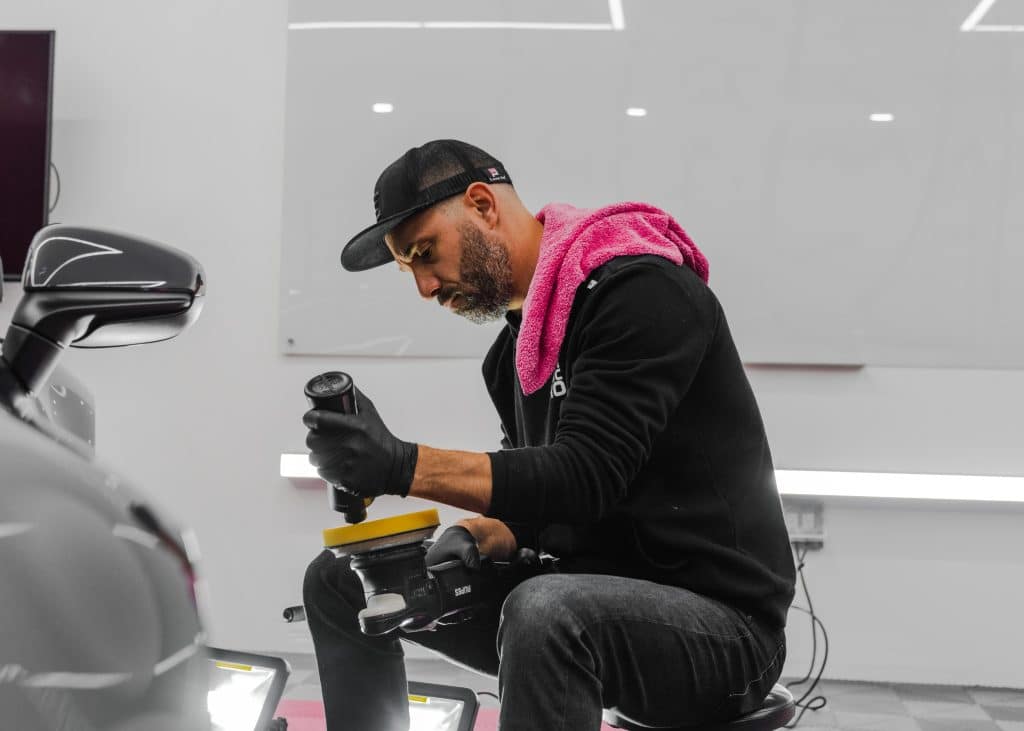
To accomplish this, the detailer will use a dedicated polishing liquid, which contains much less abrasive and is often extremely soft. They will use the same rotary or dual action polisher, but a softer foam pad. The technique for the final step is to increase the speed of the buffer, with lighter pressure and a quicker arm speed.
PRO TIP: Note that polishing and compounding are indeed different. Compound removes scratches by leveling out the paint, while polishing removes defects or mild scratches that were left by the correction.
The process can take an additional couple of hours over a one-step paint correction and require around 6-8 hours of detailed work.
Three-Step Paint Correction
What if the paint on a vehicle is extremely bad? Well, there is a threshold that paint correction simply can’t fix. If the clear coating is extremely faded, is starting to peel, or appears gone – it’s likely that correction will not fix it. In fact, it will likely remove all the remaining clear, and can damage the actual paint.
For those situations where there is still a good amount of clear remaining, that’s where three-step detailing comes into play. You’ll use some advanced tools, require some experience with heavy cutting, and embrace patience.
The general concept is to build off that BBQ example – but gradually remove the imperfections. This is typically completed on vehicles with harder clear coatings applied to the original paint.
Step One – Severe Scratch Removal
Three steps paint correction starts with removing heavy defects with a rotary or dual action polisher using a heavier compound – typically a 1000-grit of a diminishing abrasive or nano alumina abrasive. You’ll use a dedicated cutting pad – made of microfiber or high-density foam.

Step Two & Three – Minor Scratch Removal and Final Polishing
The second step gets into the same detail as the two-step polish with a second run of a finer polishing pad that gets the paint close to perfect. The third and last part of this process involves using a true polish pad with a high-end polishing liquid to bring out the clarity and shine in your paint.
How Many Times Can You Paint Correct a Car?
There is a limit to the number of times you can correct a car’s paintwork. Why? Because your car only has a certain amount of clear coat that is applied on top of the paint. Every car also has a slightly unique amount of clear coat available – depending on the material the paint is applied. A coating thickness gauge is one way to measure the amount of clear coat you have left. These unique tools are held up to paint and measure the paint visually to detect the amount of clear coat and paint left.
These gauges measure the paint thickness in microns, and while the amount of paint on a car varies from manufacturer to manufacturer and year to year, a vehicle should have a paint thickness between 60 to 110 microns. Microns are removed when the car has been paint corrected repeatedly and can gradually lead to having too little clear coat to maintain shine and protection. Also note that having very thick paint (above the normal range) on an older car is a sign that the vehicle had repainting done, and might be a bad sign for future maintenance and correction attempts.
So – How Do You Save Time on Paint Correction?
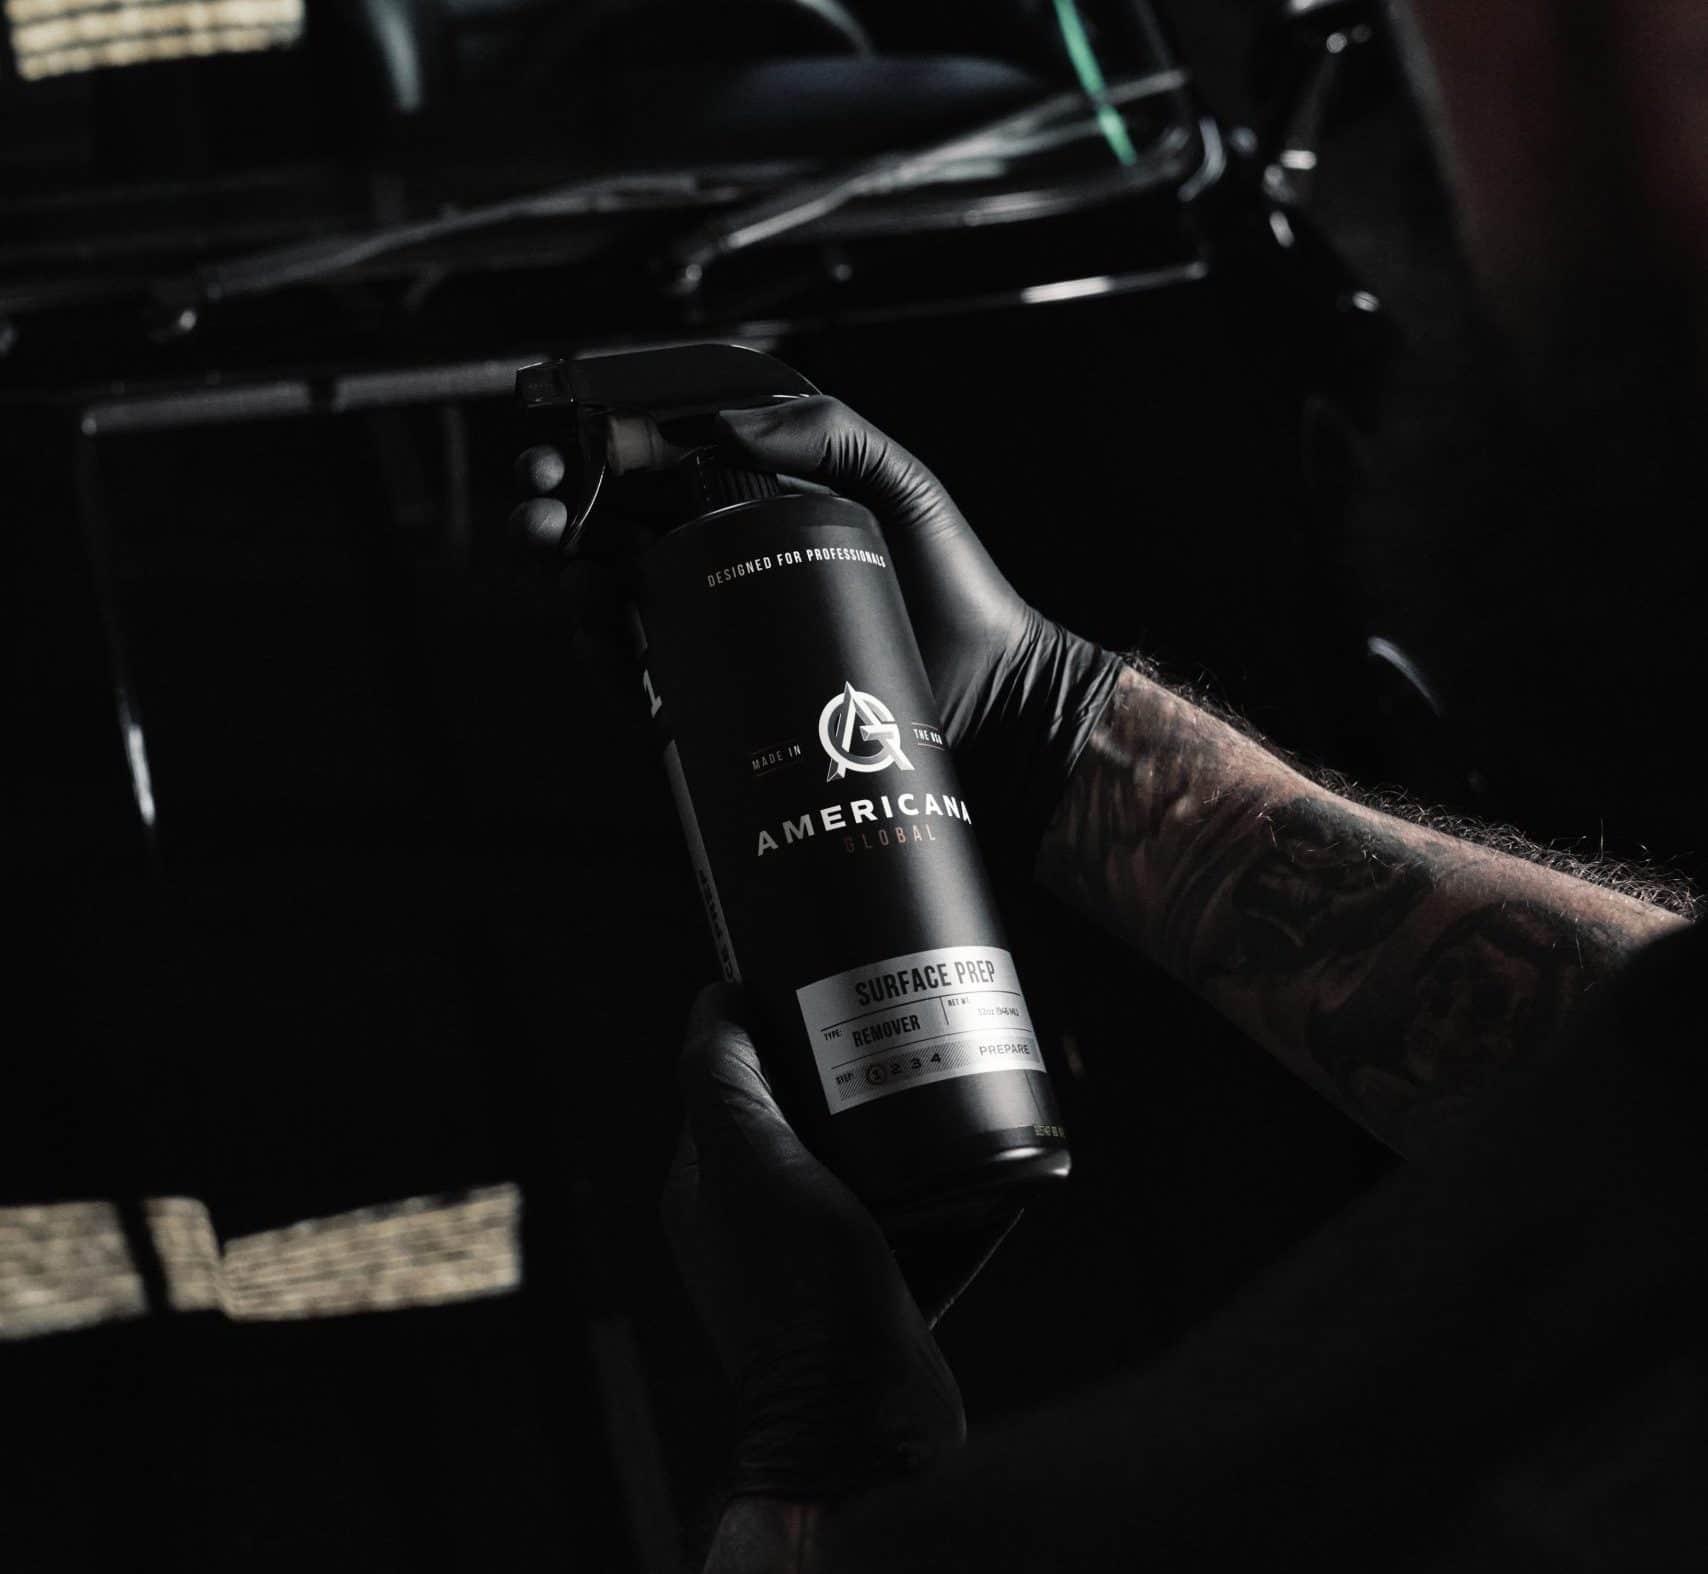
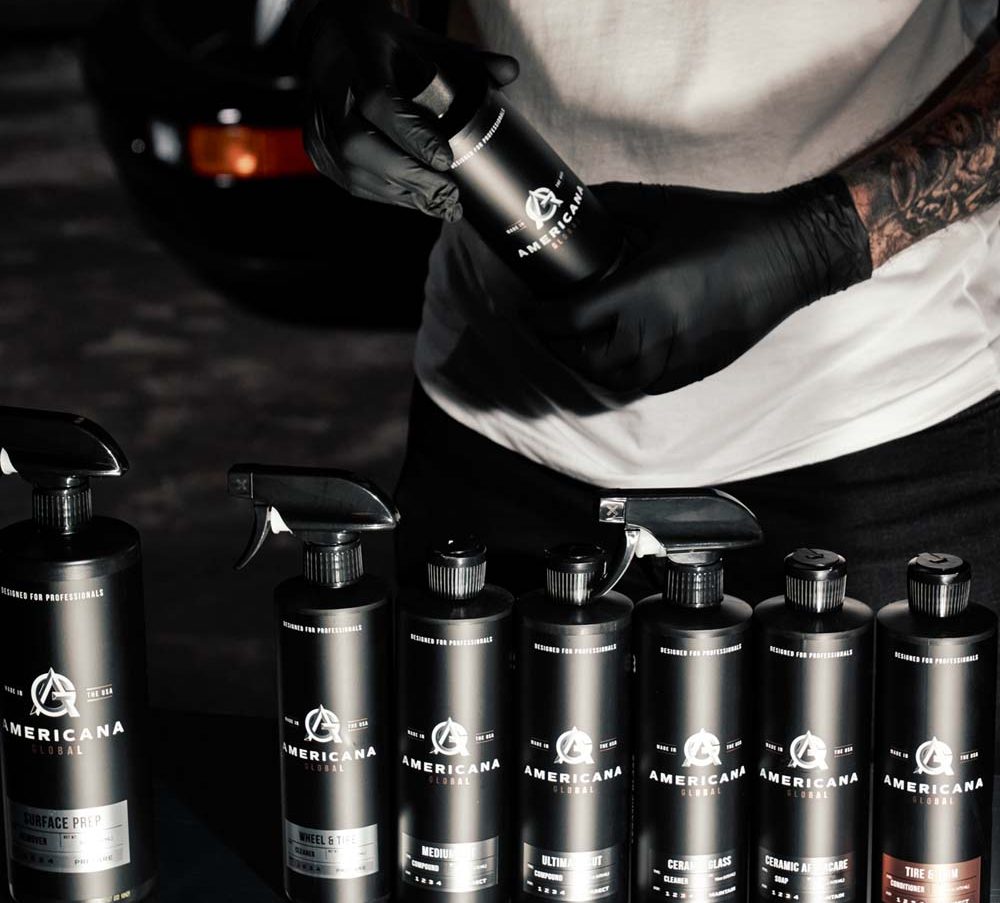
If you’re a pro detailer, mechanic, or employed in a skilled labor position, you likely understand how crucial it is to use the right tools for the right job. This is the mentality of Americana Global – and why we’ve created a streamlined and simple paint correction system.

We understand that 90 percent of all professional paint correction jobs prior to applying ceramic coatings will require a two-step correction to achieve the ultimate depth, gloss, and shine customers demand.
When using the right combination of pad and compound or polish, with some common sense techniques for each step we explained above, you can save a tremendous amount of time during this crucial detailing task.
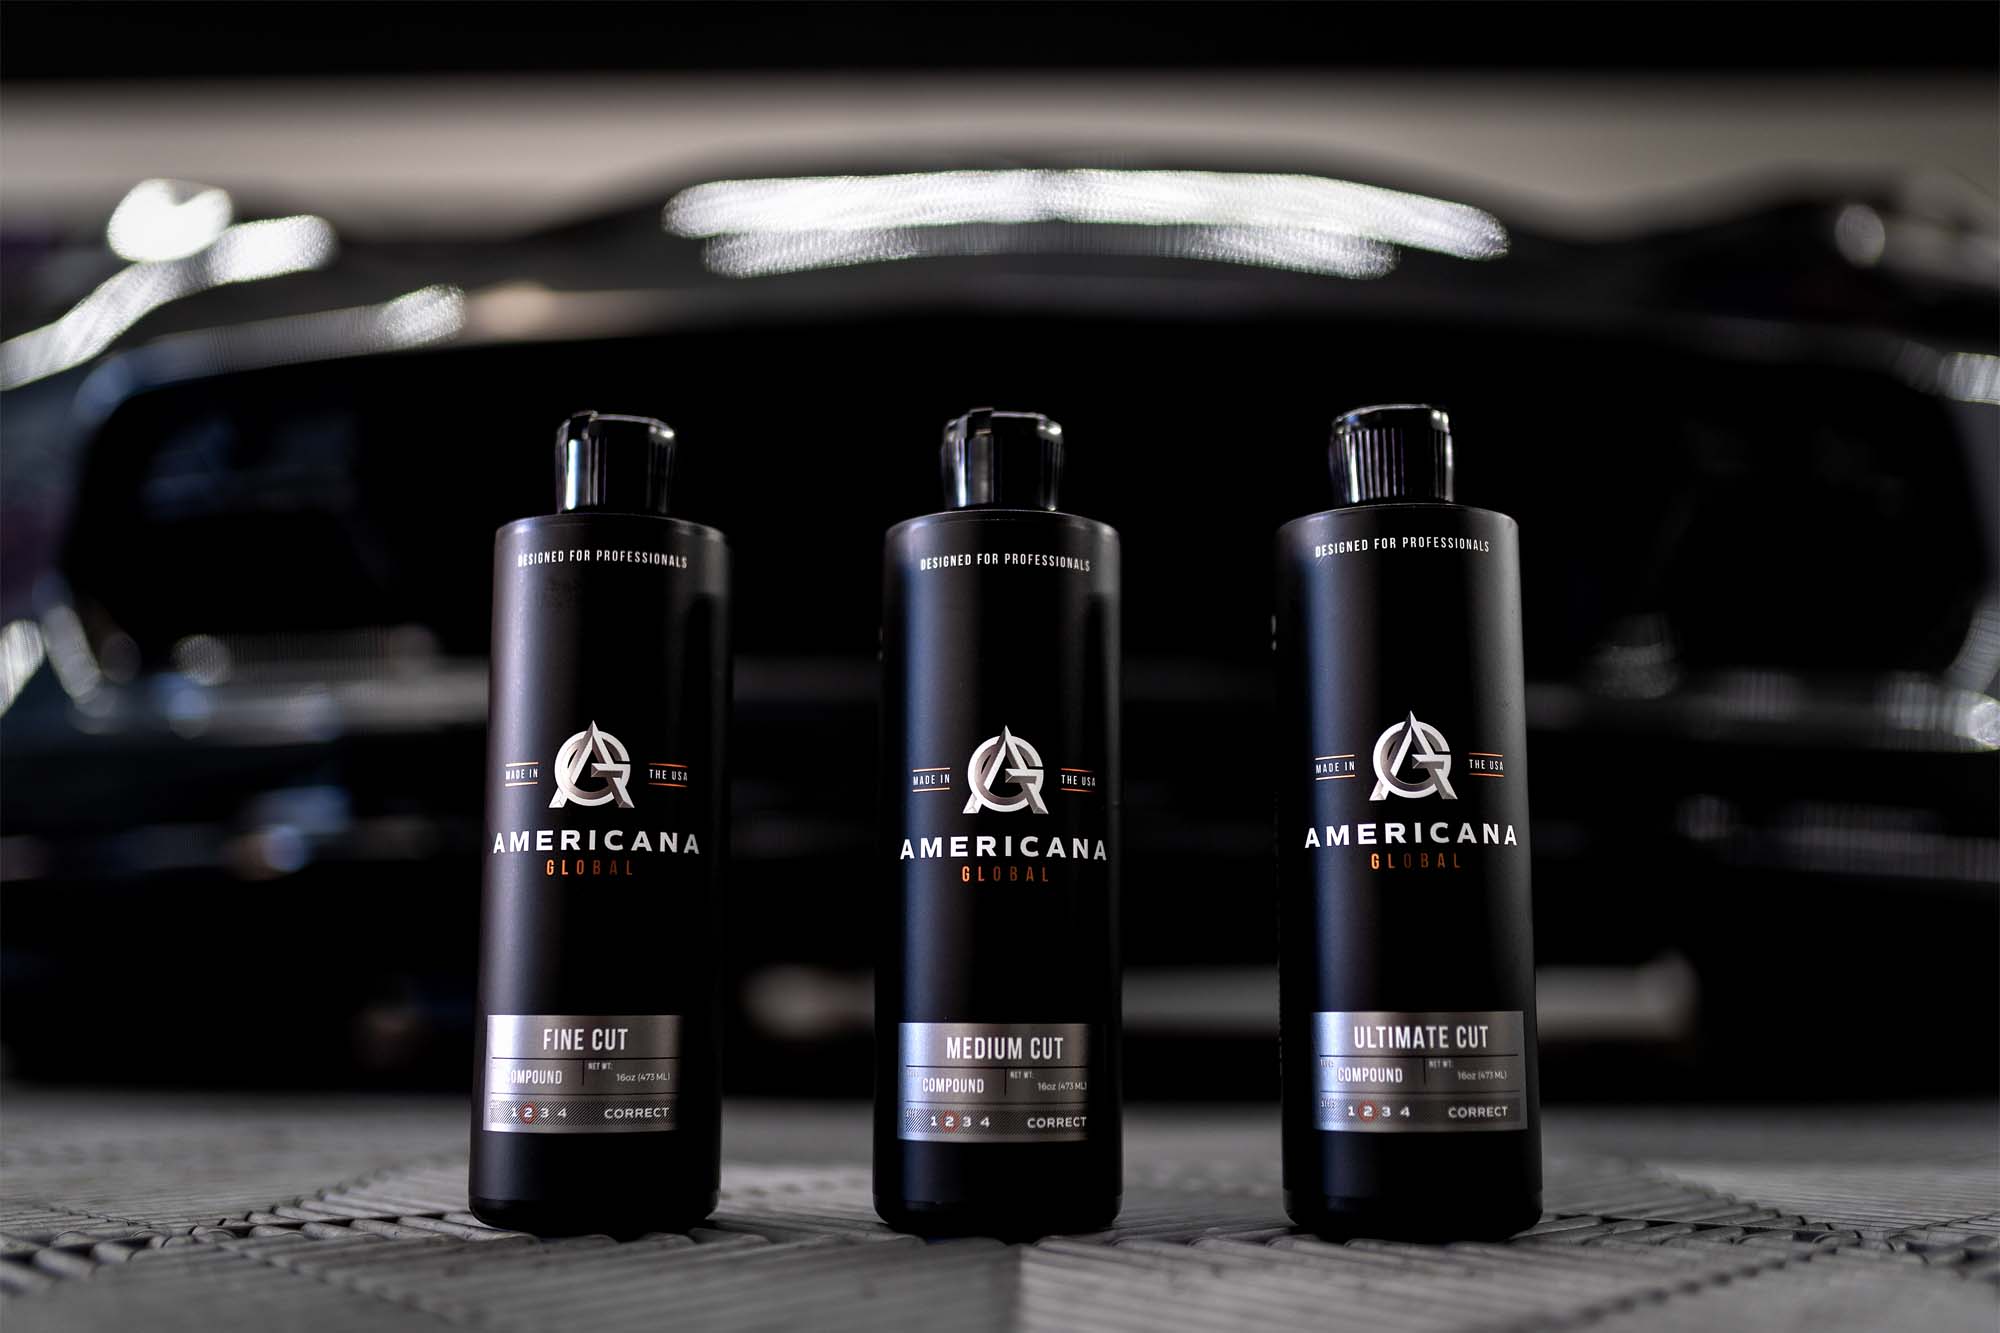
The video we showed above that outlines our CORRECT step introduces the products we recommend for our two-stage paint correction.
Correction Step – It’s pretty simple – use our Medium Cut Compound combined with our game changing Purple Hybrid Nano Foam and Wool Ultimate Cut pad.
Polishing Step – Use our Fine Cut Compound and Polish combined with our Black Foam Fine Cut Pad.
As we continue to build on our new brand, and embrace the world’s advanced technology nano alumina abrasives technology, we will find better ways of streamlining the paint correction process.


Leave A Comment